Getting Started
Set up Arachne and create your first AI agent
Get Arachne running and make your first AI-powered API call in under five minutes.
1. Sign Up
Create an account on the Arachne portal:
https://app.arachne-ai.com/signupAfter signing up, you’ll land in the portal dashboard where you can manage agents, knowledge bases, and API keys.
2. Configure a Provider
Arachne acts as a gateway to any LLM provider. Before creating an agent, your administrator needs to configure at least one gateway provider in the dashboard. As a tenant user, you can also configure your own provider under Settings.

OpenAI
- Enter your OpenAI API key.
- Select available models (e.g.,
gpt-4o,gpt-4o-mini). - Save.
Azure OpenAI
- Enter your Azure endpoint URL, API key, and deployment name.
- Select the API version (e.g.,
2024-12-01-preview). - Save.
Ollama
- Enter the Ollama base URL (e.g.,
http://localhost:11434). - No API key is required for local instances.
- Save.
Arachne encrypts all provider credentials at rest using AES-256-GCM with per-tenant key derivation.
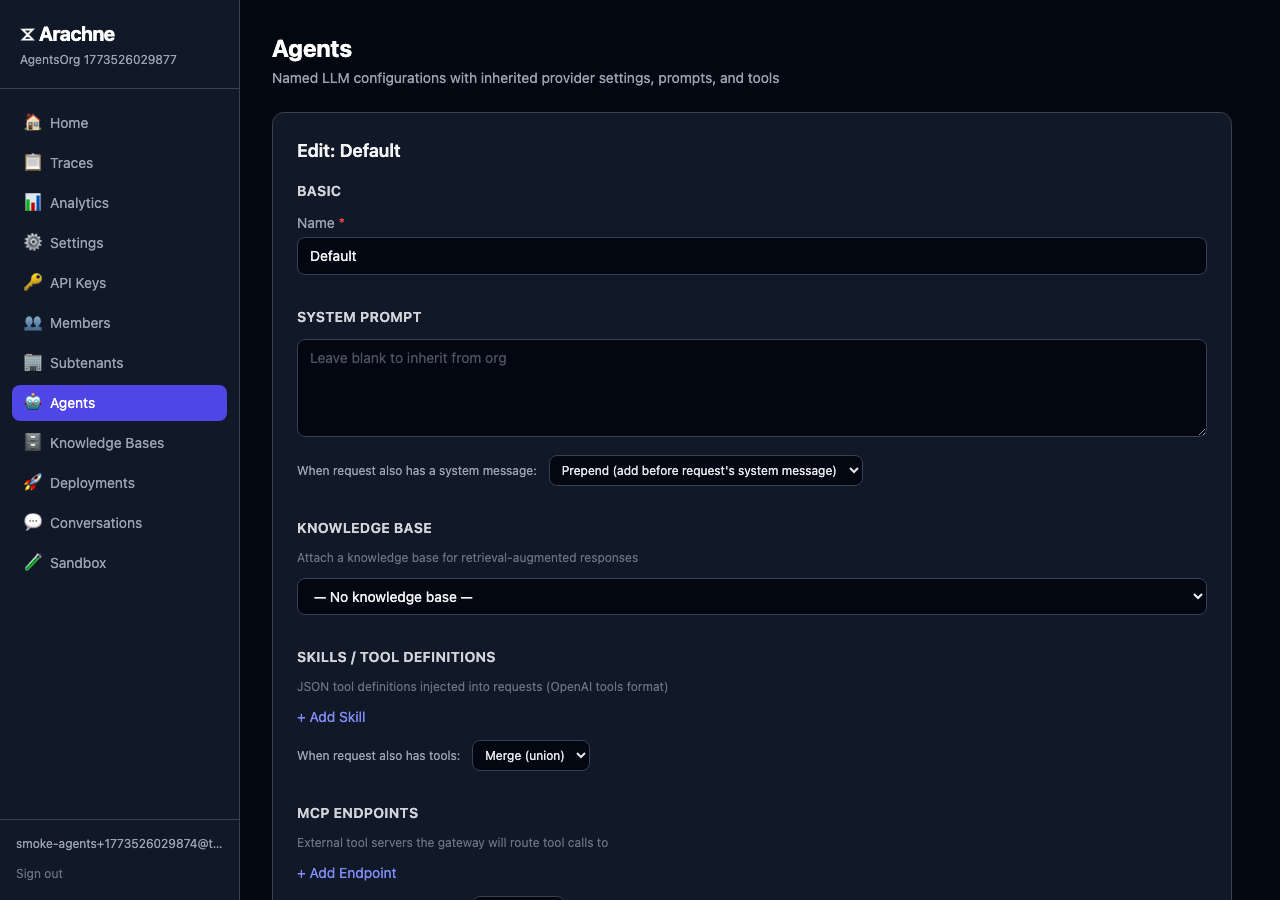
3. Create Your First Agent
Navigate to Agents and click + New Agent.
| Field | Example | Description |
|---|---|---|
| Name | support-bot | A human-readable identifier |
| Provider | Tenant Default or a gateway provider | Which provider to route requests through |
| System Prompt | You are a helpful support assistant. | Instructions that shape agent behavior |
You can also enable conversation memory to let the agent retain context across requests, and attach a knowledge base for RAG-powered responses.
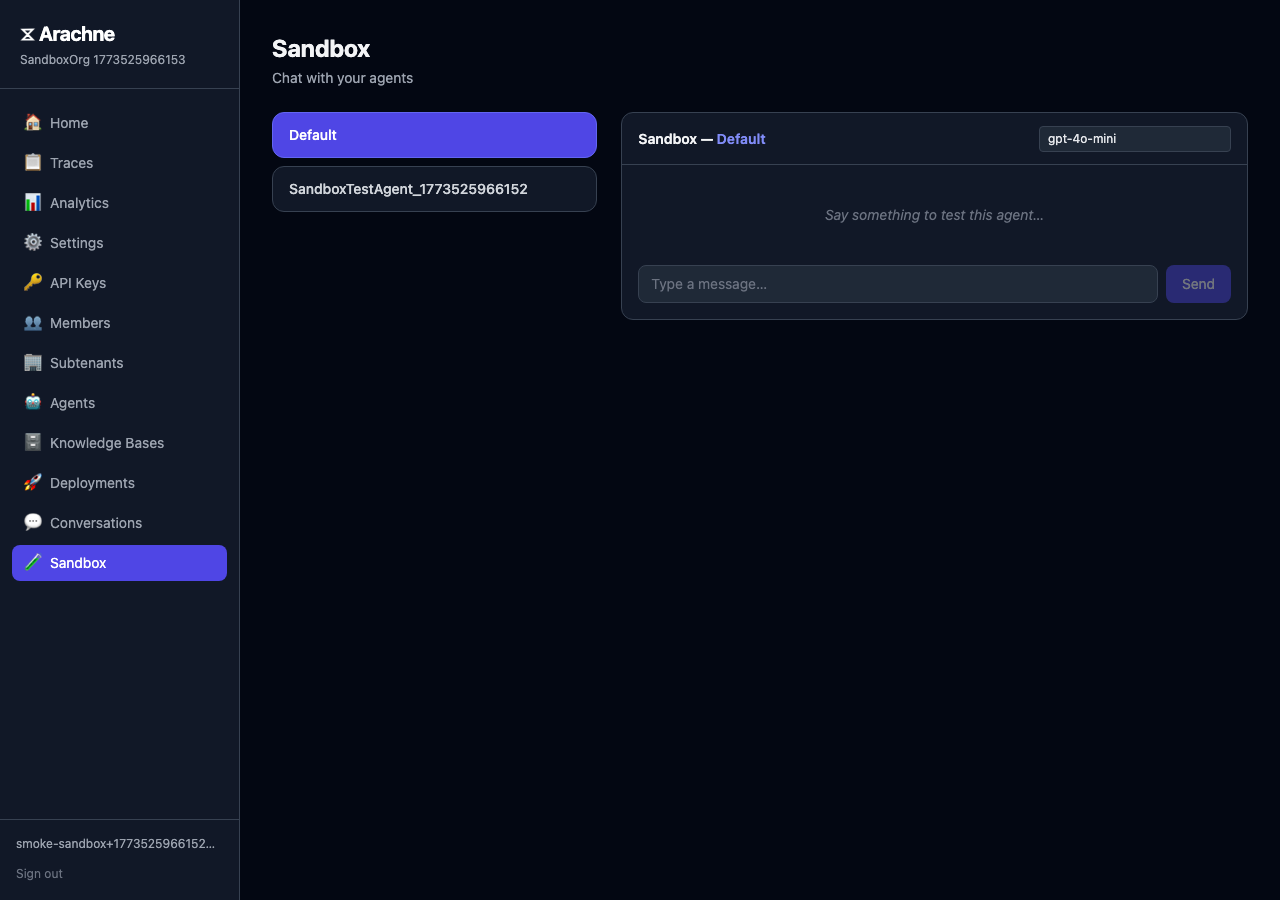
4. Test in the Sandbox
Every agent comes with a built-in sandbox. Click Test on your agent to open an interactive chat session. The sandbox routes through the full gateway pipeline — RAG retrieval, conversation memory, and merge policies all work exactly as they would in production.
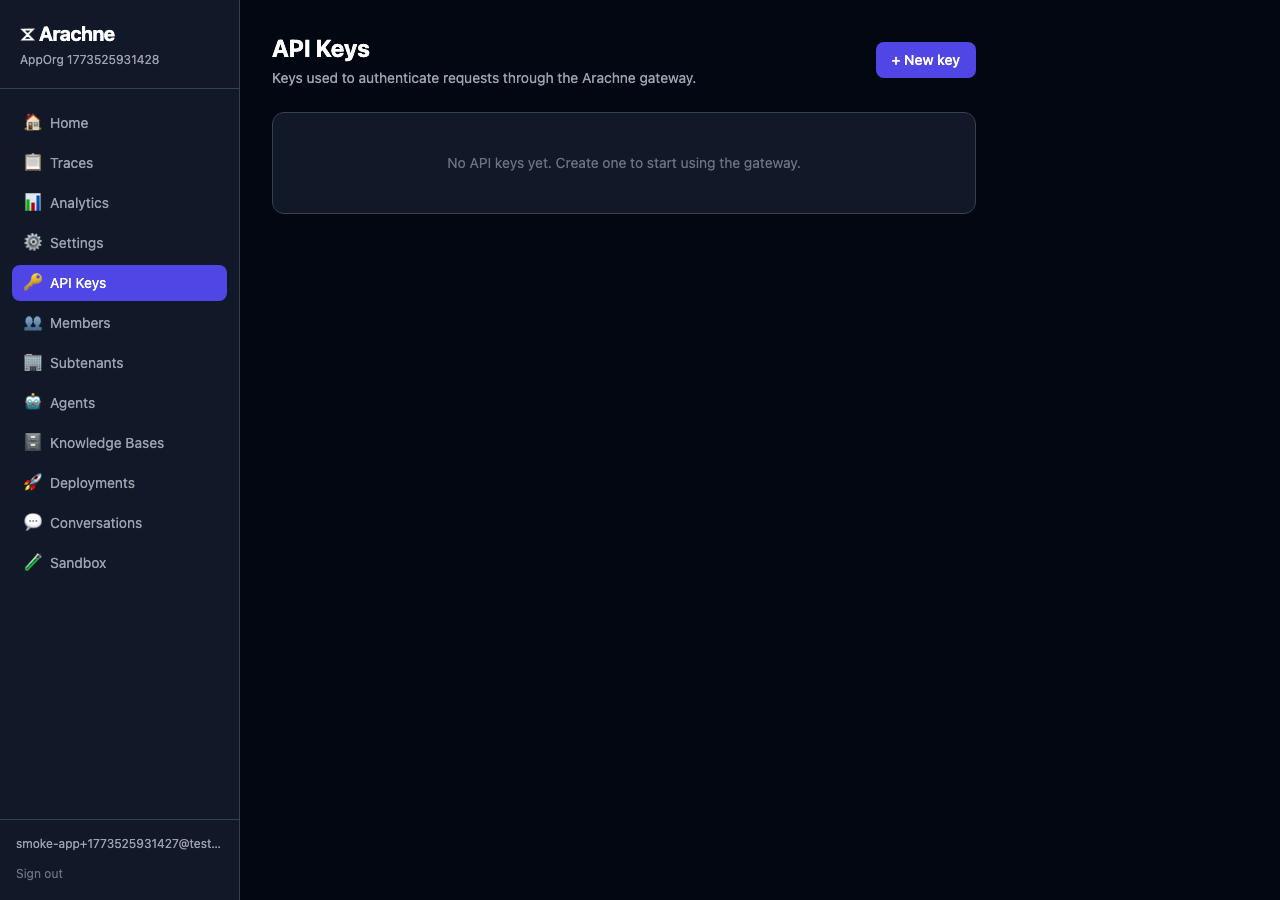
5. Create an API Key
Go to API Keys and click Generate Key. Each key is bound to a specific agent and tenant. Copy the key immediately — it won’t be shown again.
Store your API key securely. Arachne stores only a SHA-256 hash of each key in the database.
6. Make Your First API Call
Arachne exposes an OpenAI-compatible endpoint, so any existing OpenAI SDK or HTTP client works out of the box.
Using curl
curl -X POST https://api.arachne-ai.com/v1/chat/completions \
  -H "Authorization: Bearer loom_sk_your_api_key" \
  -H "Content-Type: application/json" \
  -d '{
    "messages": [
      { "role": "user", "content": "Hello, what can you help me with?" }
    ]
  }'
Using the OpenAI SDK
import OpenAI from "openai";

const client = new OpenAI({
  apiKey: "loom_sk_your_api_key",
  baseURL: "https://api.arachne-ai.com/v1",
});

const response = await client.chat.completions.create({
  messages: [{ role: "user", content: "Hello!" }],
});

console.log(response.choices[0].message.content);
The model, system prompt, and provider are resolved automatically from the agent bound to your API key. No need to specify them in the request.
Next Steps
- Portal Guide — Explore the full self-service portal.
- CLI Quickstart — Define agents as code with the Arachne CLI.
- API Reference — Full endpoint documentation.
- RAG Inference — Add knowledge bases to your agents.